My first Linux laptop
Overview
Gnome environment – 1
Using console mode to install the graphical environment
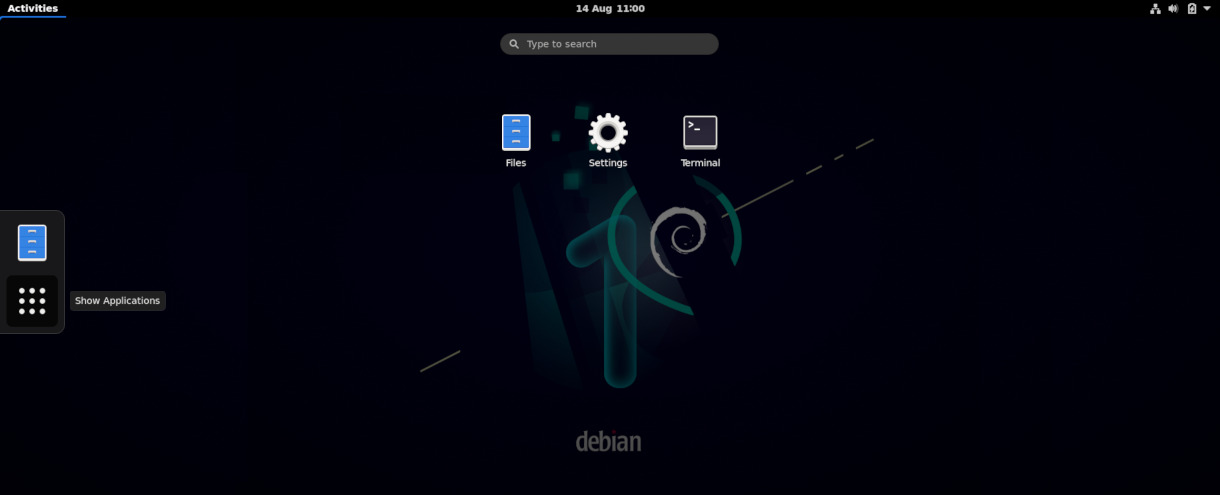
Years have passed since there was more character mode based user interfaces on personal or business computers. The so called “console mode” hasn't disappeared though; it hasn't been wiped away by graphical interfaces.
In fact, character mode systems only have been covered by graphical human interfaces and their user friendly computer interaction methods: whichever the operating system, Windows, MacOS or Linux a keyboard and characters entry mode is available under the graphical layer.
Be prepared, it is not only available, but absolutely necessary.
This is where your path towards digital freedom will require from you a little bit of effort using a yet unusual console mode user interface.
38 - Rebooting for the first time
Now that the Debian Linux base operating system is set up, it will allow you to install more software.
At this stage, you're about to install the Gnome minimal graphical environment on top of your character mode user interface.
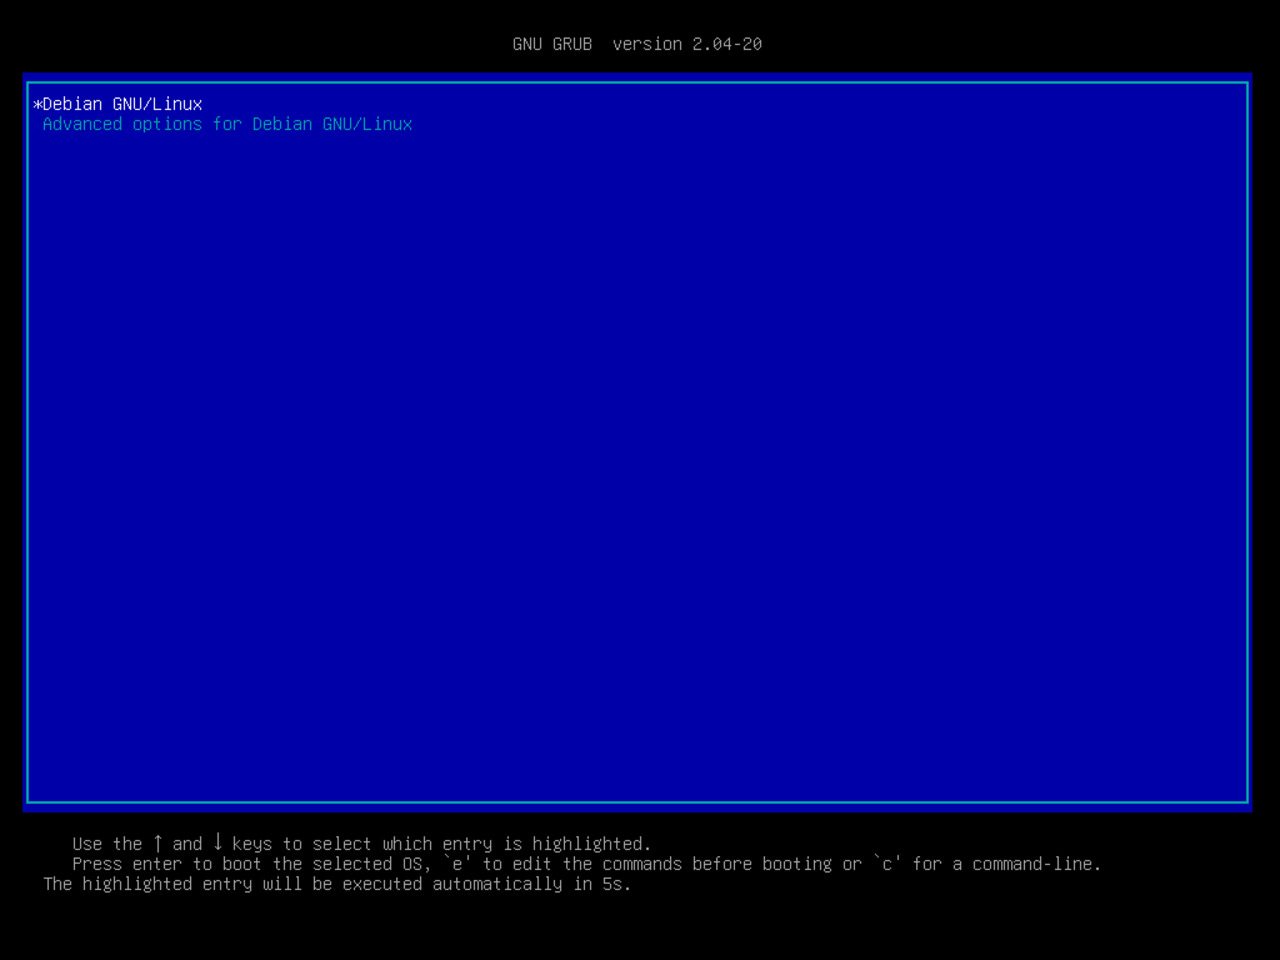
Press “Enter” to start the system.
39 - Logging in as standard user
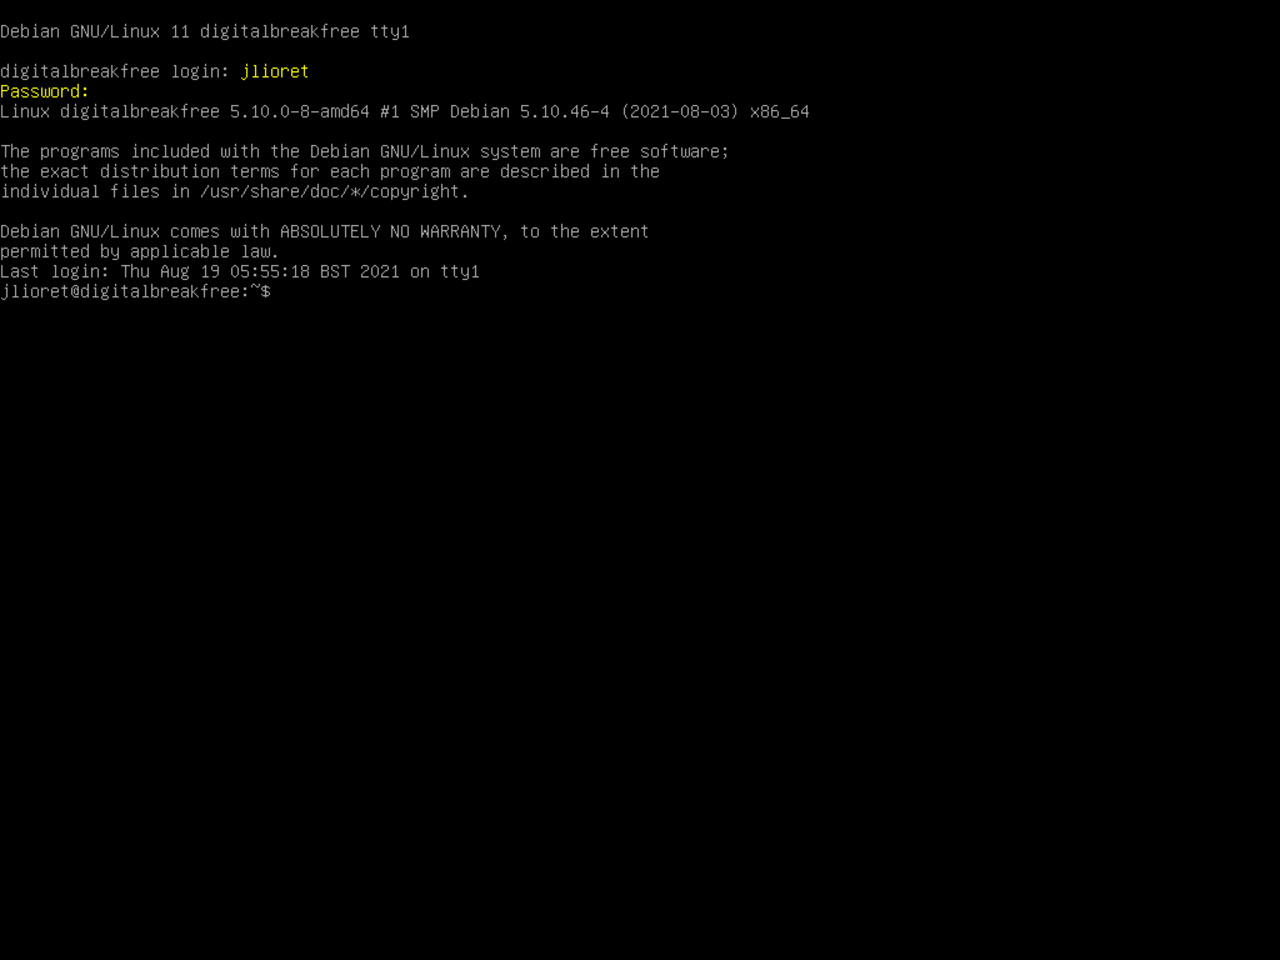
To log in as a standard user, type in your login name as defined during the previous installation stage.
Press “Enter” and type your password (no character will be displayed) followed by “Enter” once again.
Take good care of the NumLock status and of the uppercase / lowercase position while entering your password.
40 - Entering the root user mode
The normal user you just logged in with has no right to perform installation or maintenance tasks on the system.
In order to be able to do such actions, you have to become “super user”.
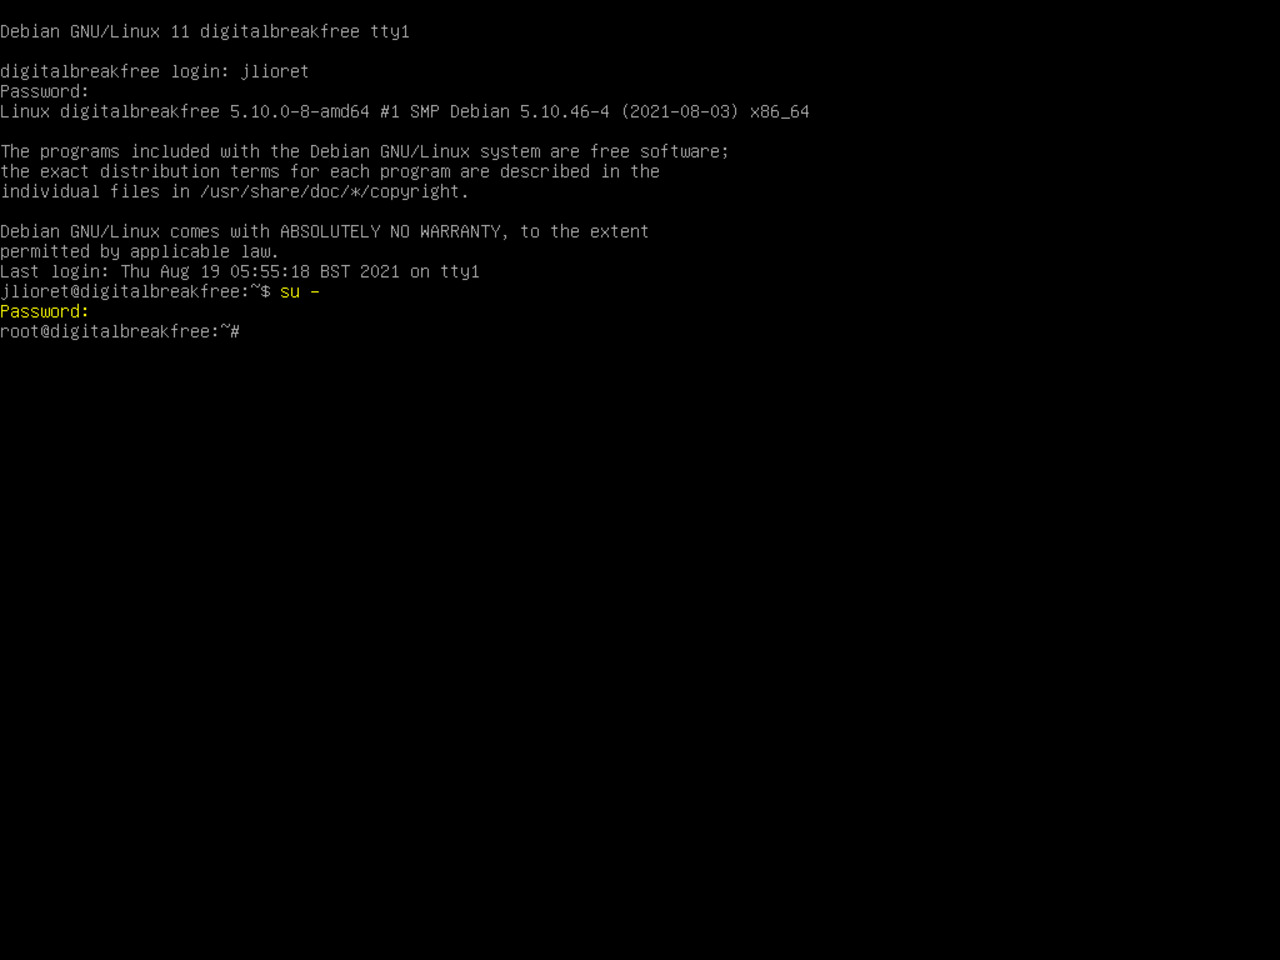
For that, type “su -” (warning: there is a space just before the hyphen) and press “Enter”.
Type your password followed by “Enter”.
41 - Checking for system updates
Before proceeding with software installation, we will verify that the system is up to date.
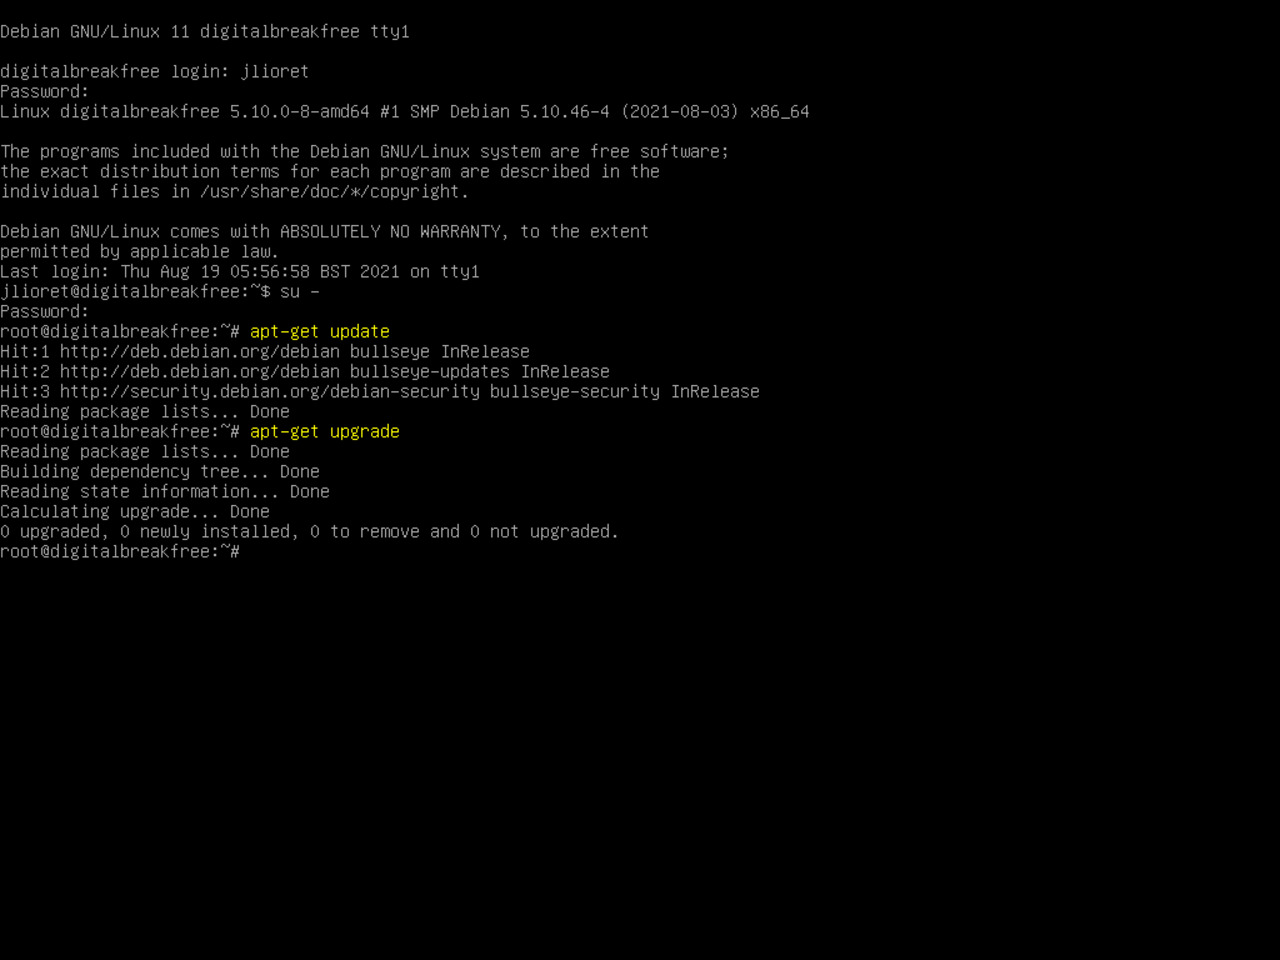
First, type the following command “apt-get update” followed by “Enter” to make the system aware of available software updates.
Then, type the “apt-get upgrade” command followed by “Enter”.
If upgrades are available, simply type “Enter” one more time to install them.
42 - Installing Gnome minimal parts set
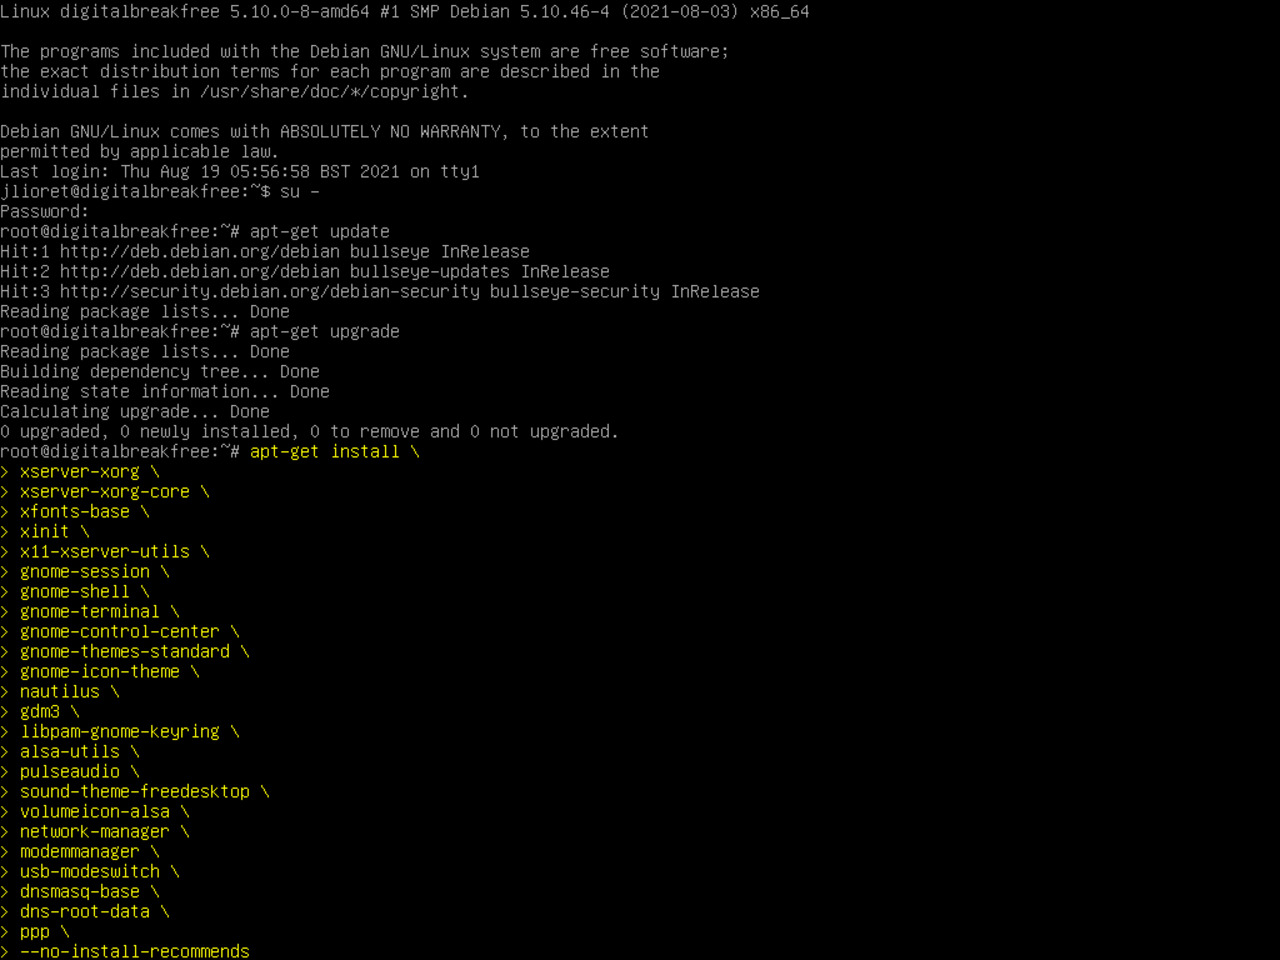
To get the minimal Gnome graphical user environment installed, type carefully the command showed on the right (also reproduced below).
Each line ends with a backslash “\” preceded by a space. This allows typing the command on several lines, turning it easier to read and control while typing.
After typing the last line with no backslash at the end, press “Enter”.
Gnome minimal installation command:
apt-get install xserver-xorg xserver-xorg-core xfonts-base xinit x11-xserver-utils gnome-session gnome-shell gnome-terminal gnome-control-center gnome-themes-standard gnome-icon-theme nautilus gdm3 libpam-gnome-keyring alsa-utils pulseaudio sound-theme-freedesktop volumeicon-alsa network-manager modemmanager usb-modeswitch dnsmasq-base dns-root-data ppp --no-install-recommends43 - Confirming the installation
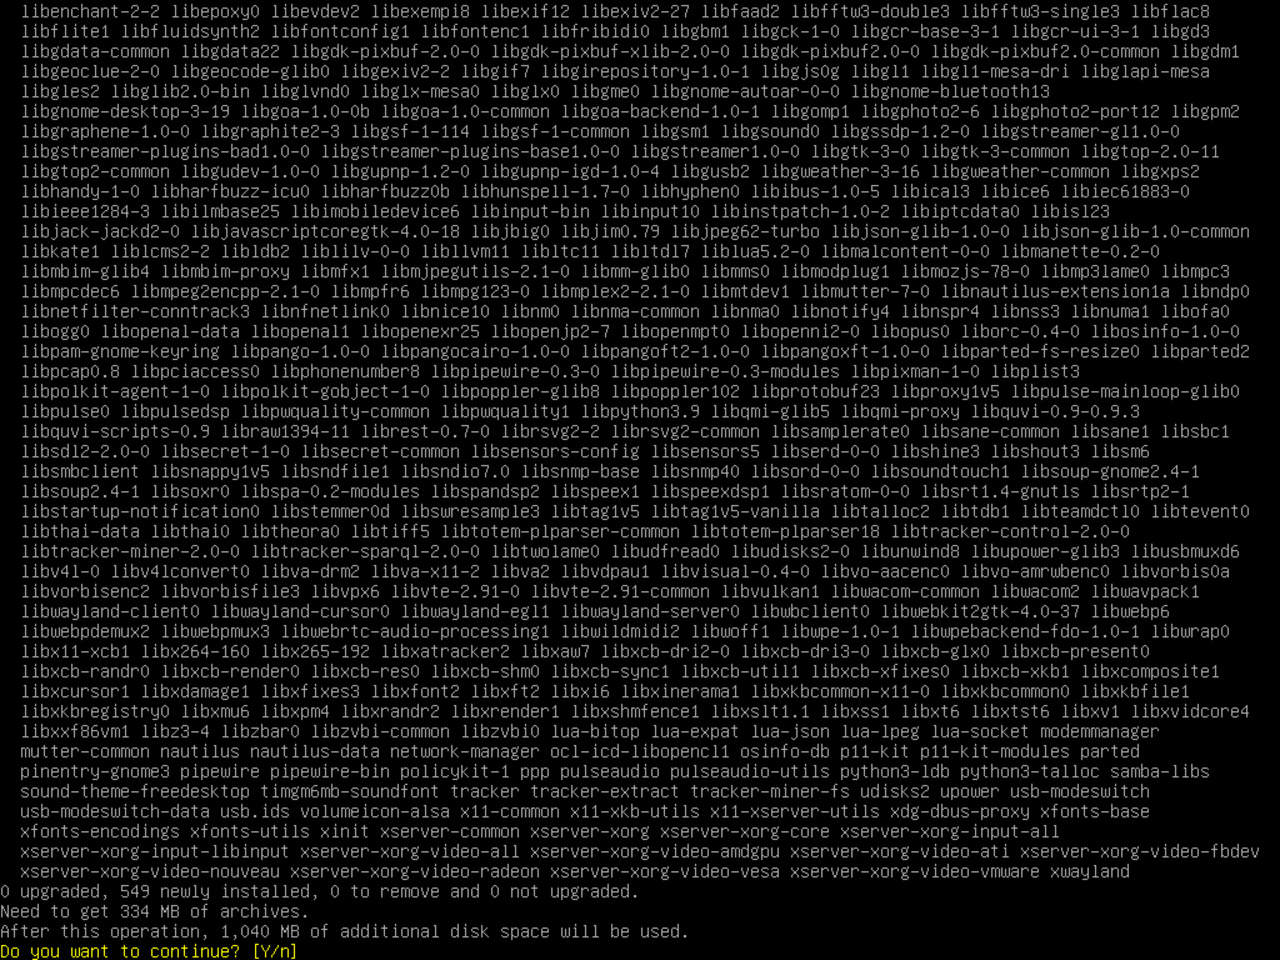
After hitting “Enter” at the end of the above line of command, and if no typo prevents from proceeding, the system gathers the list of all software required to execute the installation.
Confirm by pressing Enter (typing the "Y" default answer is optional).
If you change your mind, type “n” followed by “Enter”.
44 - Restarting the system
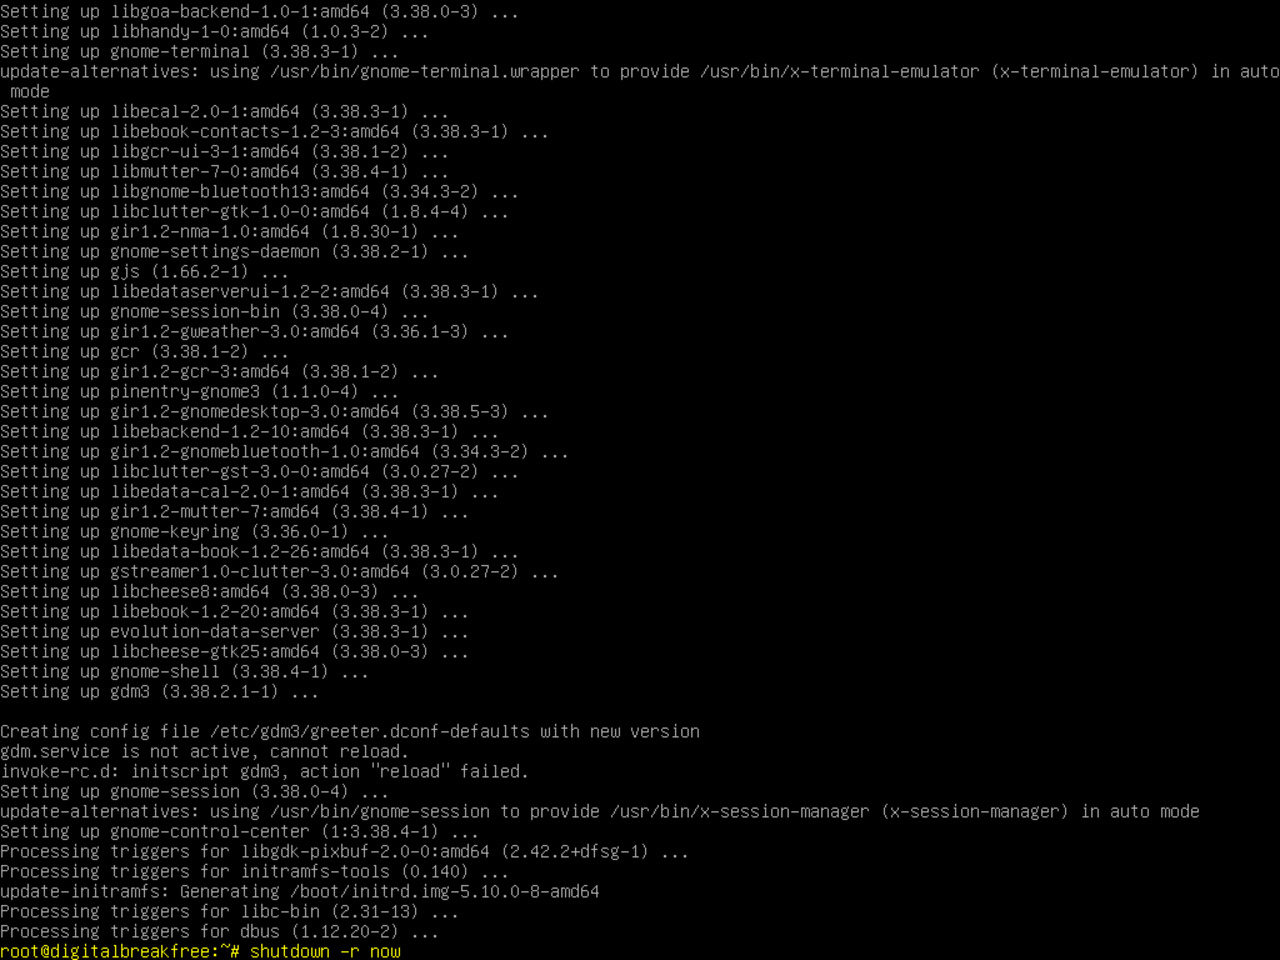
Depending on your laptop's performance level, the installation should last between 20 and 40 minutes.
Once the installation is complete, the system has to be restarted.
For this, type the following command:
shutdown -r now
and hit “Enter”.
